
When your air conditioner suddenly won’t start, runs weakly, or no longer cools effectively, it’s easy to assume there’s a major system failure. This leads to a common question many homeowners ask: can I replace the AC capacitor myself and is it safe to do so? In this guide, BlueStars Parts will walk you through the key warning signs, the feasibility of a DIY replacement, and simple step by step instructions to help you handle the problem with confidence.
1. When Does Your AC Capacitor Need Replacement?
A weak AC capacitor can affect how the outdoor fan or compressor starts and runs. Instead of replacing it based on one vague symptom, use the signs below to understand how likely the capacitor is the problem and when replacement may be needed.
| Check order | Warning sign | Replacement likelihood | What to do |
|---|---|---|---|
| 1 | Outdoor unit hums but the fan won’t spin | Very likely | Check and test the capacitor first because it may not be giving the fan motor enough startup power. |
| 2 | AC won’t start or takes multiple attempts | Likely | If this happens repeatedly, the capacitor may no longer provide stable startup power to the fan or compressor. |
| 3 | System starts then shuts off after a few minutes | Possible | The capacitor may be causing unstable operation or short cycling, but further testing may be needed. |
| 4 | AC blows warm air despite running | Indirect sign | This can also be caused by refrigerant, compressor, or airflow problems, so do not replace the capacitor based on this sign alone. |
| 5 | Capacitor case is swollen, bulging, or leaking | Replace immediately | Physical damage usually means the capacitor has failed and should not continue being used. |
If your AC shows startup-related symptoms such as humming, weak cooling, or repeated shutoffs, the capacitor may not be the only part worth checking. In some cases, these signs can overlap with broader issues where the AC stopped working suddenly, including power supply problems, thermostat errors, or other electrical faults.
2. Can I Replace My AC Capacitor Myself?
In many cases, homeowners can replace an AC capacitor themselves, but only when the issue is clearly capacitor-related, the wiring is easy to identify, and all power can be safely shut off and verified before touching any component.
2.1. DIY suitability and risk level
Before replacing the capacitor, use this table to check whether the job matches your skill level and the condition of your AC. Some situations are safe for basic inspection, while others involve wiring, power isolation, or system diagnosis that may be too risky for DIY repair.
| Situation | Should you DIY? | Risk level |
| You only want to visually inspect the capacitor without touching terminals | Yes, for inspection only | Low |
| You understand basic electrical components | Yes, if you follow safety steps | Medium |
| You know how to shut off power and confirm the unit is fully de-energized | Yes, if other steps are clear | Medium |
| You can identify the correct capacitor rating, including µF and voltage | Yes, if the replacement matches exactly | Medium |
| You are unsure about wiring connections or wire positions | No | High |
| Your AC has multiple issues beyond the capacitor | No | High |
| You feel uncomfortable working with electrical components | No | High |
| You plan to work without proper power isolation or verification | No, stop here | High |
2.2. DIY vs hiring a pro: time and cost comparison
Replacing an AC capacitor yourself can be cheaper if you already have basic tools, understand electrical safety, and can choose the correct replacement part. However, the lower cost comes with higher personal responsibility because mistakes with wiring, power isolation, or capacitor selection can damage the system or create a safety risk.
| Option | Estimated time | Estimated cost | Best for |
| DIY replacement | 30–60 minutes | Around $15–$60 for the capacitor and basic tools | Homeowners who are confident with electrical safety and correct part matching |
| Hiring a technician | 1–2 hours depending on scheduling and diagnosis | Around $120–$350 including labor, diagnosis, and replacement | Homeowners who are unsure about wiring, discharge steps, or system diagnosis |
DIY may be the more cost-effective option if the issue is clearly a bad capacitor and you can work safely. Professional repair is usually worth the added cost if the AC has multiple symptoms, repeated breaker trips, compressor issues, or unclear wiring.
3. Tools and safety equipment you need before starting
Before replacing an AC capacitor, it’s important to gather all the necessary tools and protective equipment. Proper preparation not only makes the process smoother but also helps ensure your safety throughout the task.
3.1. Tools you need to replace AC Capacitor
The table below lists the essential tools you should prepare, along with their specific purposes during the replacement process:
| Tool | Purpose | Note |
| Screwdrivers (flathead and Phillips) | Remove the outdoor unit cover and loosen mounting screws | Must-have |
| Pliers (needle-nose or cutting pliers) | Grip, pull, or hold electrical wires | Must-have |
| Replacement capacitor (correct specifications) | Replace the faulty capacitor | Must-have |
| Voltage tester | Confirm that power is completely off before handling | Must-have (safety-critical) |
| Multimeter | Check voltage and test the condition of the capacitor | Optional (Recommended for diagnosis accuracy) |
3.2. Safety equipments
Working with electrical components always carries risk, especially capacitors. Even when power is off, a charged capacitor can cause serious electric shock. That is why proper protective equipment is essential before starting any work:
-
Insulated gloves: protect you from electrical shock
-
Insulated footwear or rubber-soled shoes: reduce grounding risk
-
Safety goggles: shield your eyes from dust or small sparks
-
Insulating mat if available: adds an extra layer of protection while working
-
Circuit breaker shutoff: always ensure the system is fully disconnected from power before touching any components
Being well-prepared from the start will help you work more confidently and minimize potential risks.
4. How to replace an AC capacitor - step-by-step
To replace an AC capacitor safely and correctly, you should follow the steps below in order. Each step plays an important role, so it’s best not to skip any part of the process.
Step 1: Shut off all power (breaker + disconnect box)
First, make sure the air conditioner is completely powered off by switching off the circuit breaker inside your home and the outdoor disconnect box if available. This is the most critical step to prevent the risk of electric shock.

Turn off all power sources to ensure safety before starting any work (Source: Freepik)
Step 2: Open the access panel and locate the capacitor
Once the power is off, use a screwdriver to open the outdoor unit panel. The capacitor is typically cylindrical or oval in shape and located near the fan motor or compressor. Identifying the correct component will help you work more efficiently and accurately.
Step 3: Photograph the wiring before touching anything
Before disconnecting any wires, take a clear photo of how they are connected to the capacitor. This will help you avoid confusion when reinstalling, especially with dual-run capacitors labeled C, FAN, and HERM.
If the wiring layout appears unclear or difficult to interpret, it is recommended to pause at this stage and reassess before continuing.
Step 4: Safely discharge the capacitor
Even after the power is turned off, the capacitor can still hold an electrical charge. Use an insulated screwdriver or a suitable resistor to discharge it across the terminals. This step ensures all remaining electricity is released before handling.
If you are uncertain about how to discharge it correctly, do not proceed further until proper guidance or tools are available.

Safely discharge the capacitor using an insulated tool to release any remaining stored electricity before handling it (Source: Bluestars Parts)
Step 5: Remove the old capacitor and check the label
Next, disconnect the wires and remove the capacitor from its mounting bracket. Carefully check the specifications printed on the label, including the µF rating and voltage, to make sure your replacement matches.
Step 6: Install the replacement capacitor
Finally, install the new capacitor in the correct position, reconnect the wires based on your reference photo, and secure it firmly. Once everything is in place, close the panel and restore power to test the unit.
If you’re looking for a reliable replacement, consider a dual run AC capacitor with a 50+5 uF MFD 370/440 VAC Dual Run Start Round AC Capacitor. This is a common type used for both the fan and compressor, helping ensure stable startup and consistent cooling performance. It is compatible with many residential AC units and is designed to withstand outdoor operating conditions for long-term durability.
A successful replacement should result in normal operation shortly after startup:
-
The outdoor fan should begin spinning immediately
-
There should be no humming without movement
-
Cooling performance should start returning within a few minutes.
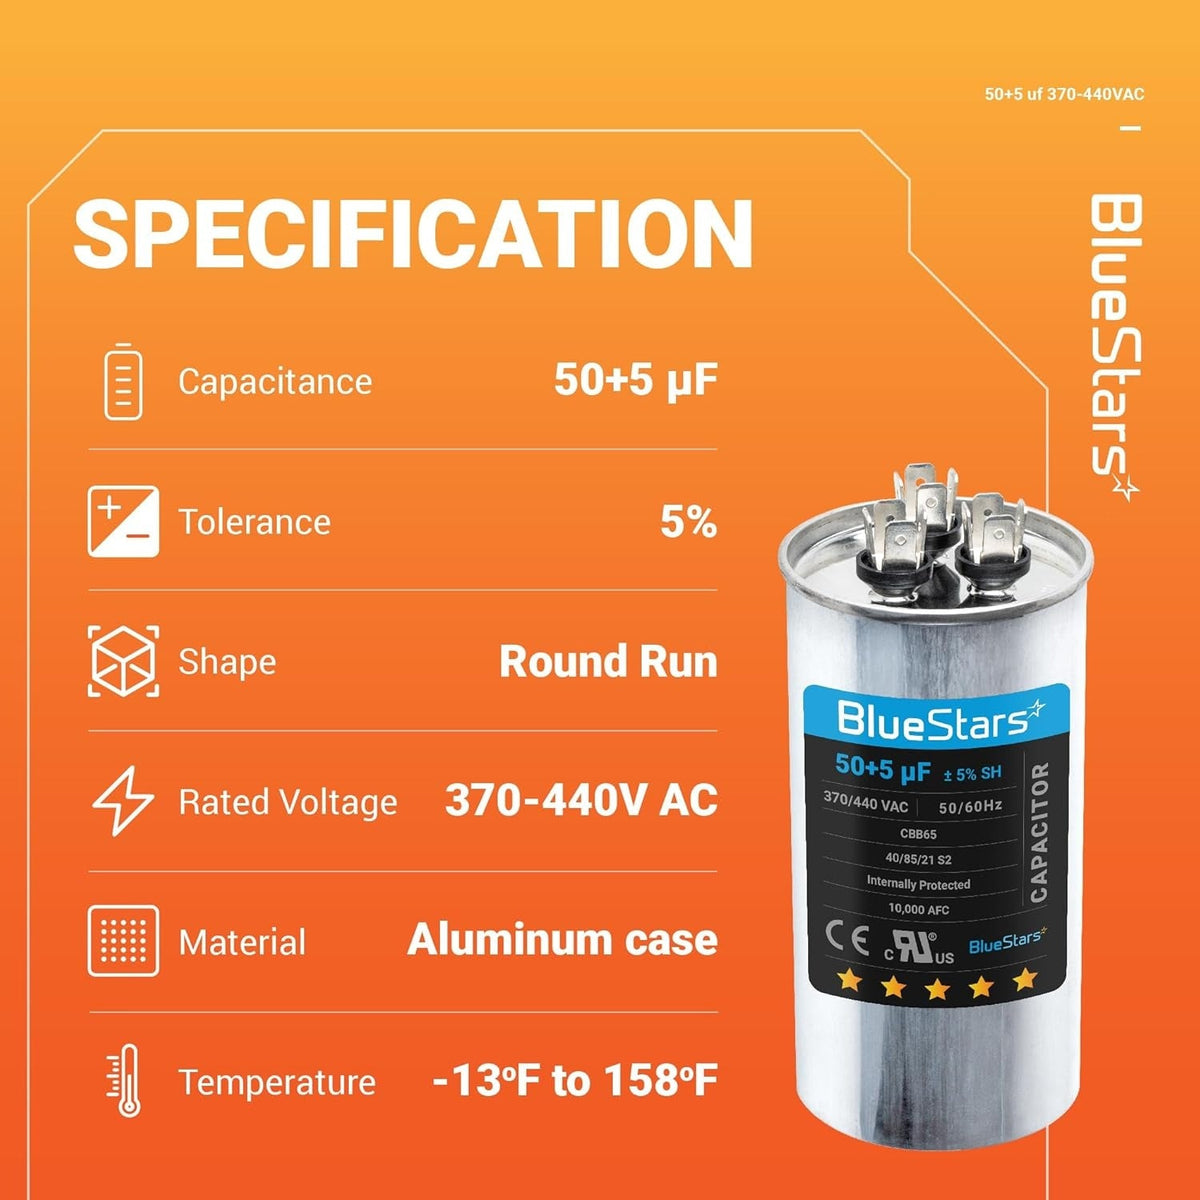
50+5 uF MFD 370/440 VAC Dual Run Start Round AC Capacitor (Source: Bluestars Parts)
5. What if the AC still doesn’t work after replacing the capacitor
If you have replaced the capacitor but your AC still does not work, the issue may not be limited to the capacitor. It could also be related to the power supply, compressor, fan, or control board. Below are some common situations, what each problem means, and quick fixes for your reference.
| Situation | What It Means | Quick Fix |
| AC won’t turn on | Possible power outage, tripped breaker, control board issue, or thermostat problem | Check the power supply, circuit breaker, remote batteries, and reset the temperature setting |
| Fan runs but compressor does not start | Possible faulty contactor, relay, compressor, or wrong replacement capacitor | Verify the capacitor rating and call a technician to inspect the compressor |
| Compressor runs but no cooling | Low refrigerant, dirty evaporator coil, or blocked line | Clean the air filter, check refrigerant levels, and service the unit |
| AC makes a humming noise then shuts off | Seized compressor, low voltage, or incompatible capacitor | Turn off the unit, check the power supply, and replace with the correct capacitor |
| AC turns on and off repeatedly | Faulty temperature sensor, overheating, or control board issue | Clean the outdoor unit and inspect the sensor and control board |
| Breaker trips when AC starts | Electrical short, damaged wiring, or overloaded compressor | Shut off power immediately and call an HVAC technician |
| Outdoor unit does not run | Faulty condenser fan, contactor, or control board | Check the outdoor fan and related components |
If the outdoor fan still does not spin, the issue may involve the fan motor, contactor, relay, or another airflow-related component instead of the capacitor. In that case, you can use this guide on AC fan not working to narrow down the next most likely cause before replacing more parts.
>>> Read more: Why is my AC fan not working? Common Causes and How to fix
6. FAQs
6.1. Can I run my AC with a bad capacitor?
No, it is not recommended. A faulty capacitor can prevent the compressor or fan from starting properly, cause weak performance, produce a humming noise, or stop the unit from working altogether. Continuing to run the AC may lead to overheating and damage to more expensive components.
6.2. Can an AC run without a capacitor?
Usually, no. Most air conditioners require a capacitor to help start and maintain proper operation of the compressor or fan motor. Without a capacitor, the unit often will not start or may run improperly.
6.3. How long does an AC capacitor typically last?
An AC capacitor typically lasts 5 to 10 years, depending on the quality of the part, usage frequency, and environmental conditions. High temperatures, humidity, or unstable power supply can shorten its lifespan.
Replacing an AC capacitor yourself is entirely doable if you understand the process and strictly follow electrical safety guidelines. However, if you feel unsure or encounter more complex issues, it’s always safer to call a professional technician. In addition, to keep your system running smoothly and ensure long-term reliability, it’s best to choose high-quality replacement parts from trusted brands like BlueStars Parts, helping maintain performance and reduce the risk of future failures.
Contact information:
8 The Green, Ste A, Dover, Delaware 19901-3618, United States
Website: https://bluestarsparts.com/
Explore Related Articles:
AC Making Noise? 6 Common Causes and How to Fix Quickly
Why Does Your Air Conditioner Smell Bad? Causes and Fixes