
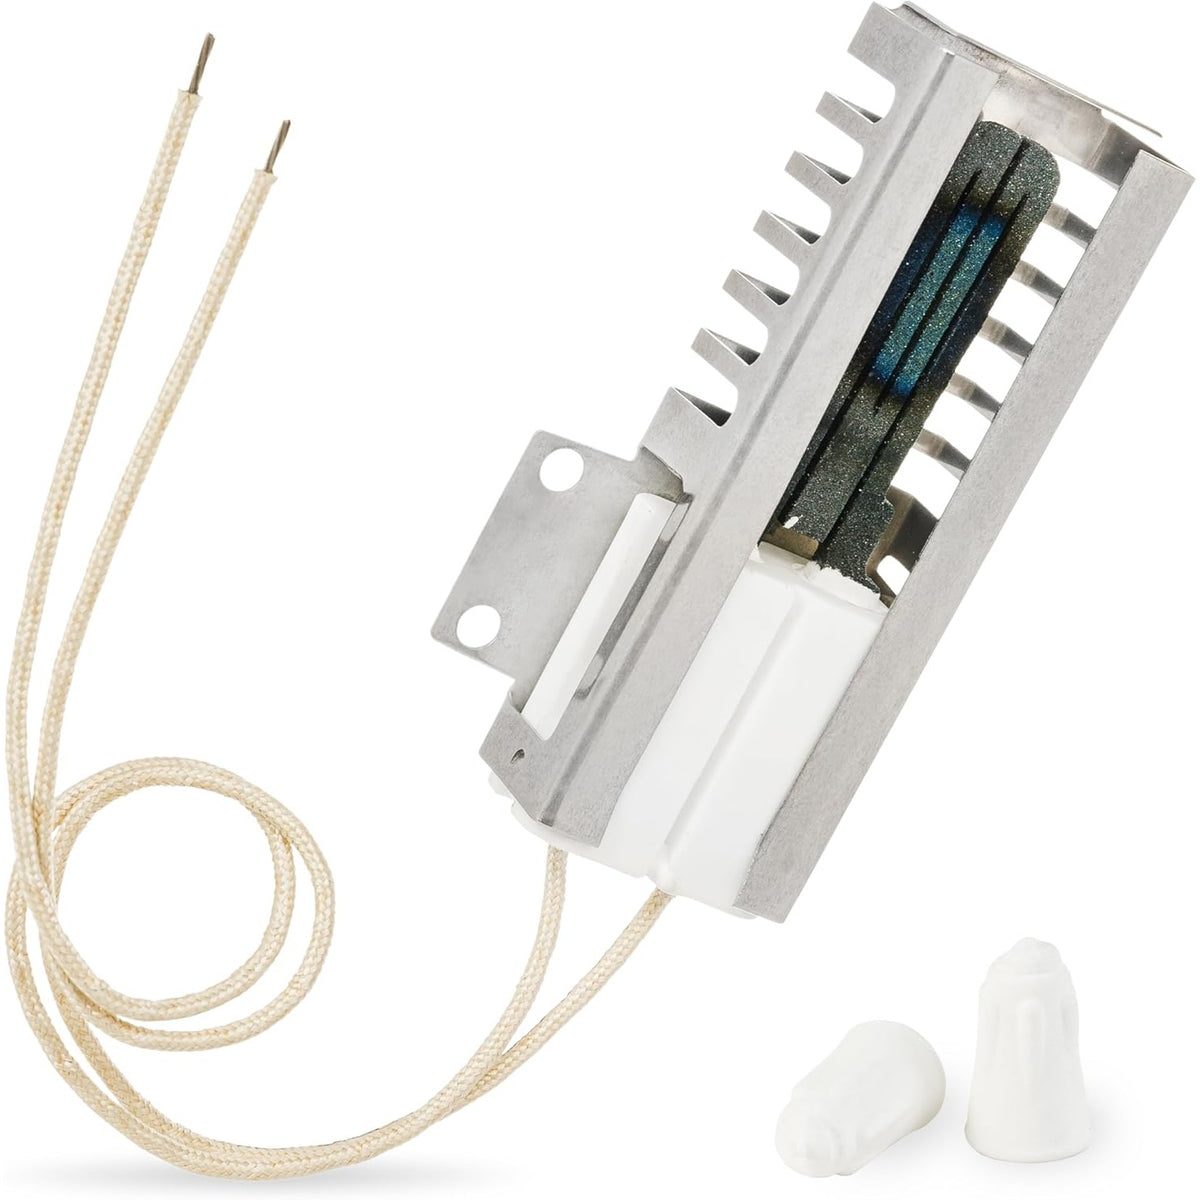
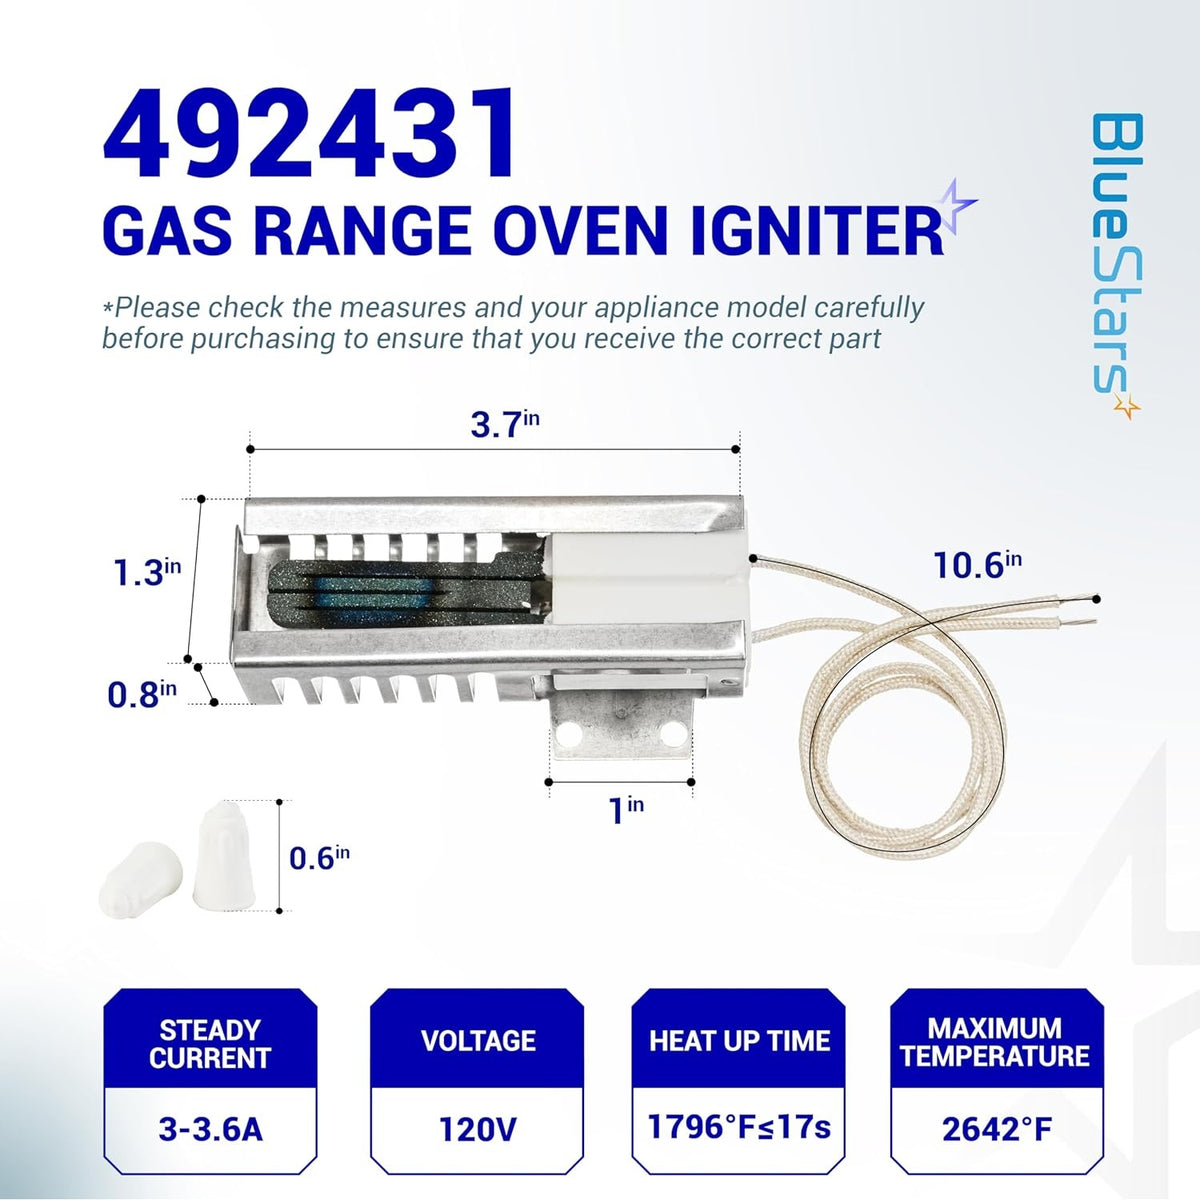







318177710 Gas Range Oven Igniter for Frigidaire Kenmore GE Hotpoint Roper Tappan Gas Range
0.00
Regular price
$22.79
Regular price
Save 11%
$25.52
Sale price
$22.79
Fast Delivery
Delivery options available at checkout
30 Day Returns
Return Policy
CONFIRM THIS PART FITS
Enter appliance or equipment model number to verify compatibility with this part
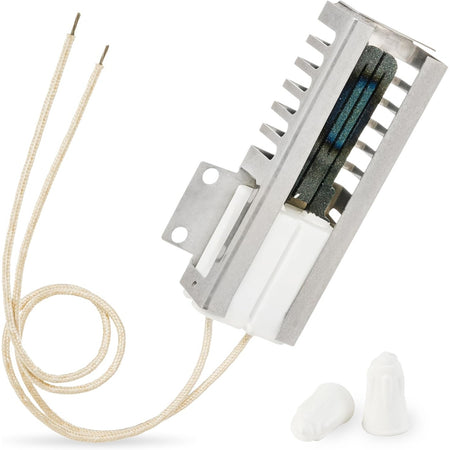
318177710 / 5303935066 Gas Range Oven Igniter
Key Features
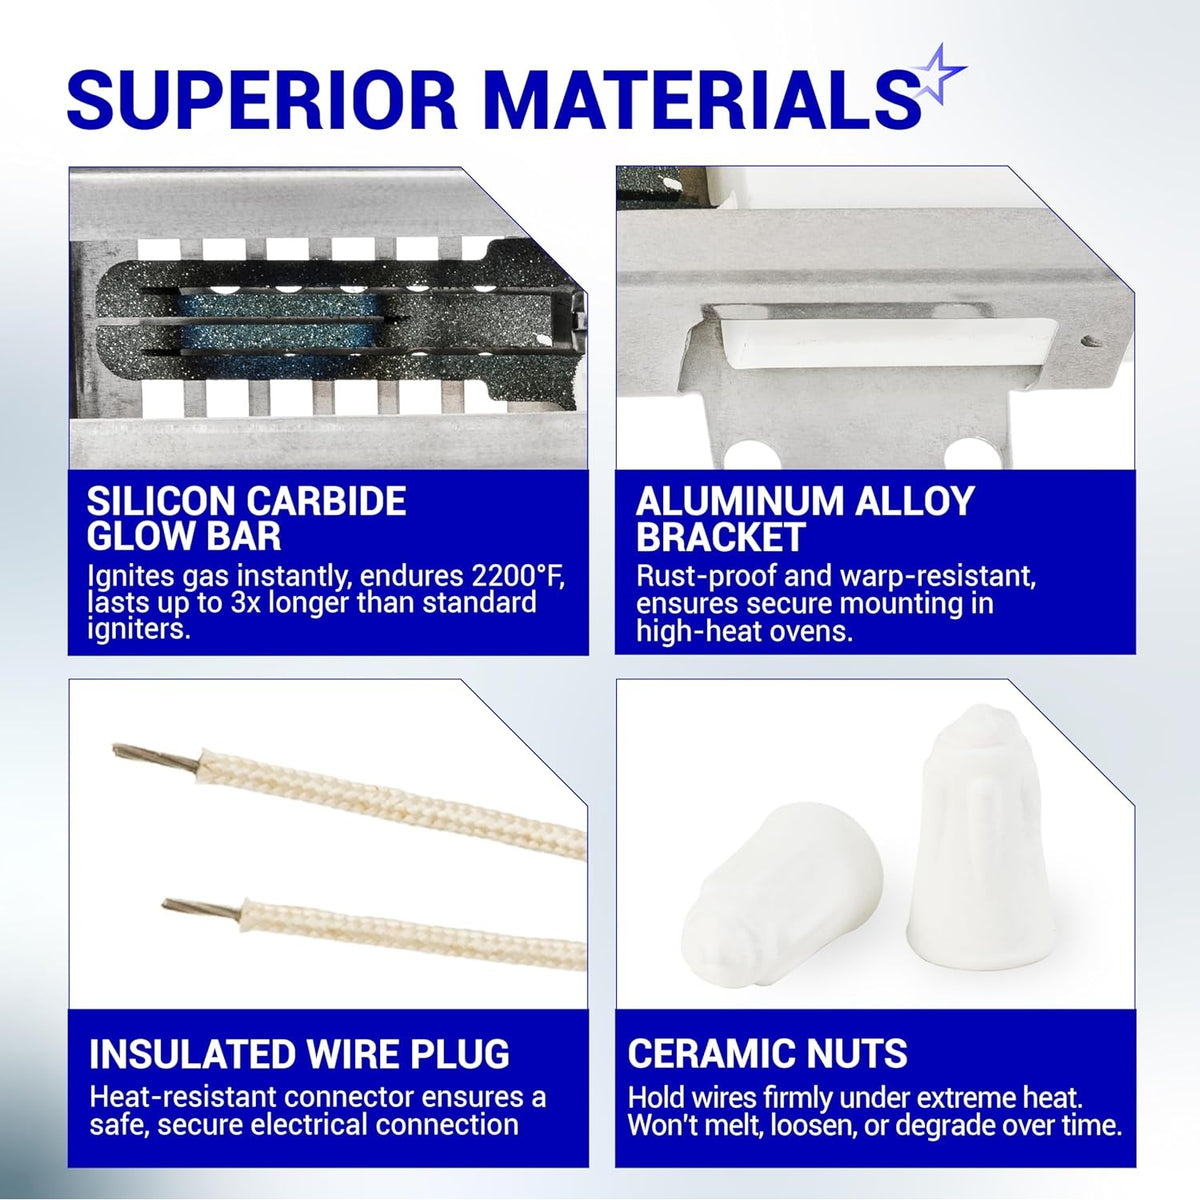
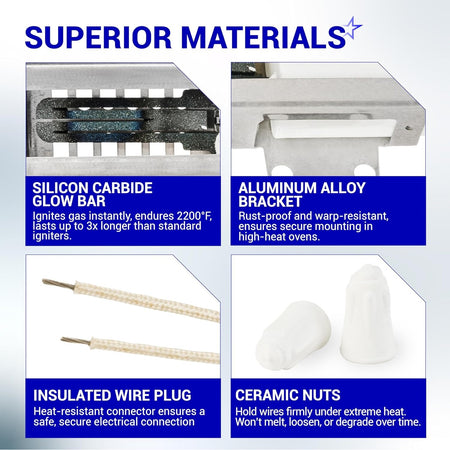
- High-Precision Heating Element: Constructed from premium silicon carbide designed to reach ignition temperatures quickly and maintain the specific amperage required to safely open the oven gas valve.
- Reinforced Ceramic Shield: Features a high-density ceramic base that protects the electrical connections from the intense, localized heat of the oven burner box.
- Universal Compatibility: Engineered as a versatile replacement for many flat-style igniters used in residential gas ranges, ensuring a wide range of fitment for multiple major brands.
- Integrated Wiring Harness: Comes pre-wired with high-temperature fiberglass insulation and a standard plastic terminal plug for a secure, heat-resistant electrical connection.
- Reliable "White-Hot" Ignition: Designed to provide consistent, soot-free ignition for the main oven burner, reducing the risk of unburned gas odors during the startup cycle.
Replaces / Cross-Reference Part Numbers
- 5303935066
- AP2129143
- PS444179
- 316428600
- 5303308452
- 5303308468
- 7318177710
- 823743
- AH444179
- EAP444179
Compatibility & Fitment
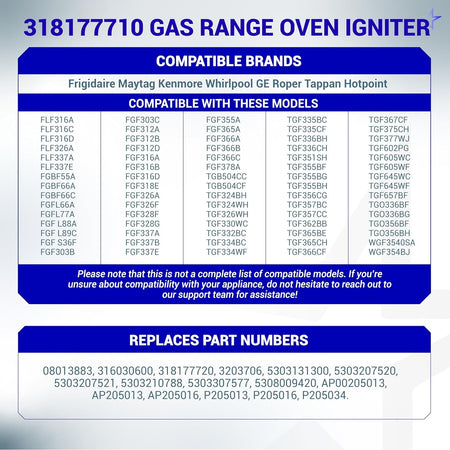
This igniter is a standard component for many gas ranges manufactured by Electrolux/Frigidaire. Key compatible brands include:
- Frigidaire: Fits a vast majority of Gallery, Professional, and standard series gas ovens.
- Kenmore / Sears: Compatible with many models featuring the 790 or 253 prefixes.
- GE & Hotpoint: Fits specific models that utilize the flat-bar ignition standard.
- Roper, Tappan, & Crosley: Direct replacement for various freestanding and slide-in gas ranges.
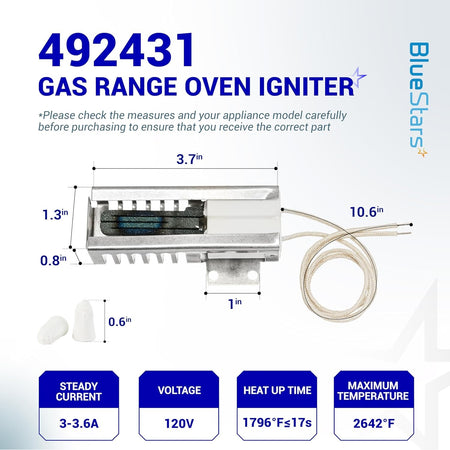
- Note: While this is a universal-style flat igniter, always compare the length of the ceramic base and the style of the connector to your original part to ensure a perfect fit.
When to Replace
- Oven Won't Heat: The most common symptom; the igniter may glow orange but fails to reach the white-hot temperature (proper amperage) needed to open the gas valve.
- No Glow at All: The igniter has physically cracked or the internal filament has burned through, breaking the electrical circuit entirely.
- Long Ignition Times: If it takes more than 30–60 seconds for the gas to ignite after the oven is turned on, the igniter is weakening and nearing failure.
- Gas Smell Without Ignition: Indicates the valve is opening, but the igniter is not hot enough to light the gas, creating a potential safety hazard.
- Visual Cracks: Any visible "hairline" fractures on the gray element indicate the part has reached the end of its service life and will fail soon.
Installation Tips
- Safety First: CRITICAL: Unplug the range and turn off the gas supply before beginning. Working on oven igniters involves exposed high-voltage wiring and gas components.
- The "No Touch" Rule: PRO TIP: Never touch the gray heating element with your bare hands. The oils from your skin can create a "hot spot" that causes the element to burn out prematurely during the first use.
- Reuse the Connector: If the plastic plug on the new igniter does not match your range, you can safely cut the wires and use ceramic wire nuts to join the new igniter to your original wiring harness.
- Careful Handling: Silicon carbide is extremely brittle. Handle the igniter by the white ceramic base only, as even a small drop or bump can shatter the gray element.
- Check the Burner Ports: While the igniter is removed, inspect the burner tube holes near the igniter tip. If they are clogged with debris, the gas may not light even with a brand-new igniter.


-

FIX OVEN'S SYMPTOMS
Oven not heating | Gas smell present | Uneven heating | Weak or no flame -

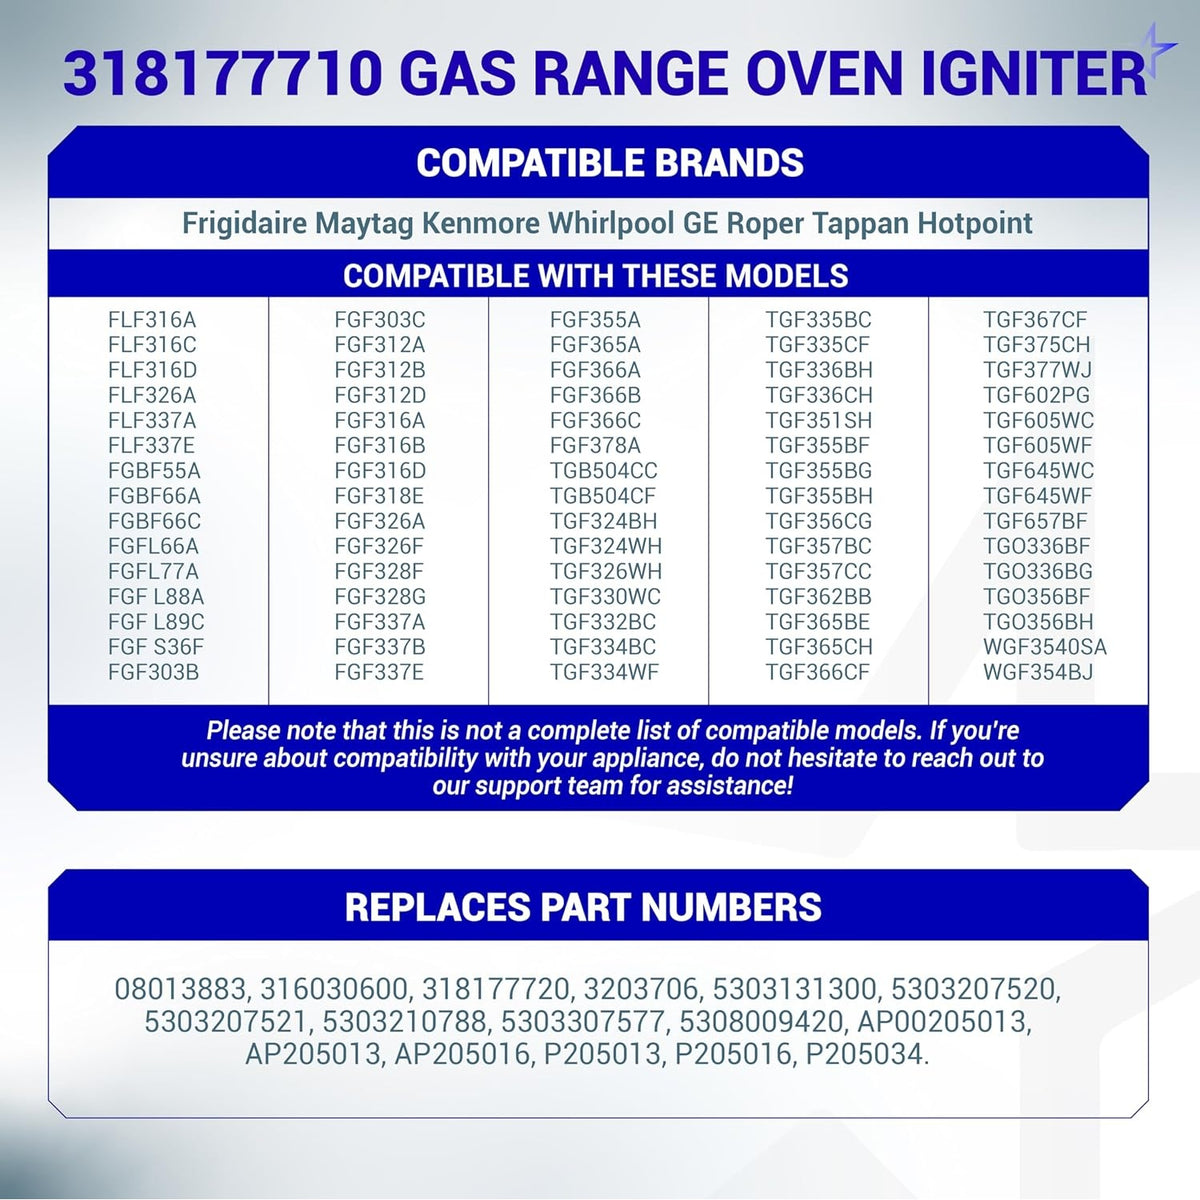
REPLACES PART NUMBERS
08013883, 316030600, 318177720, 3203706, 5303131300, 5303207520, 5303207521, 5303210788, 5303307577, 5308009420, AP00205013, AP205013, AP205016, etc -

SAVING SOLUTION
Enjoy the great feeling when your oven is repaired and works properly like before - BlueStars brings DIY solutions to help you deal with any trouble -

IMPORTANT NOTE
This is a replacement part designed to be compatible with certain appliances. Any brand names mentioned are used solely to indicate compatibility.

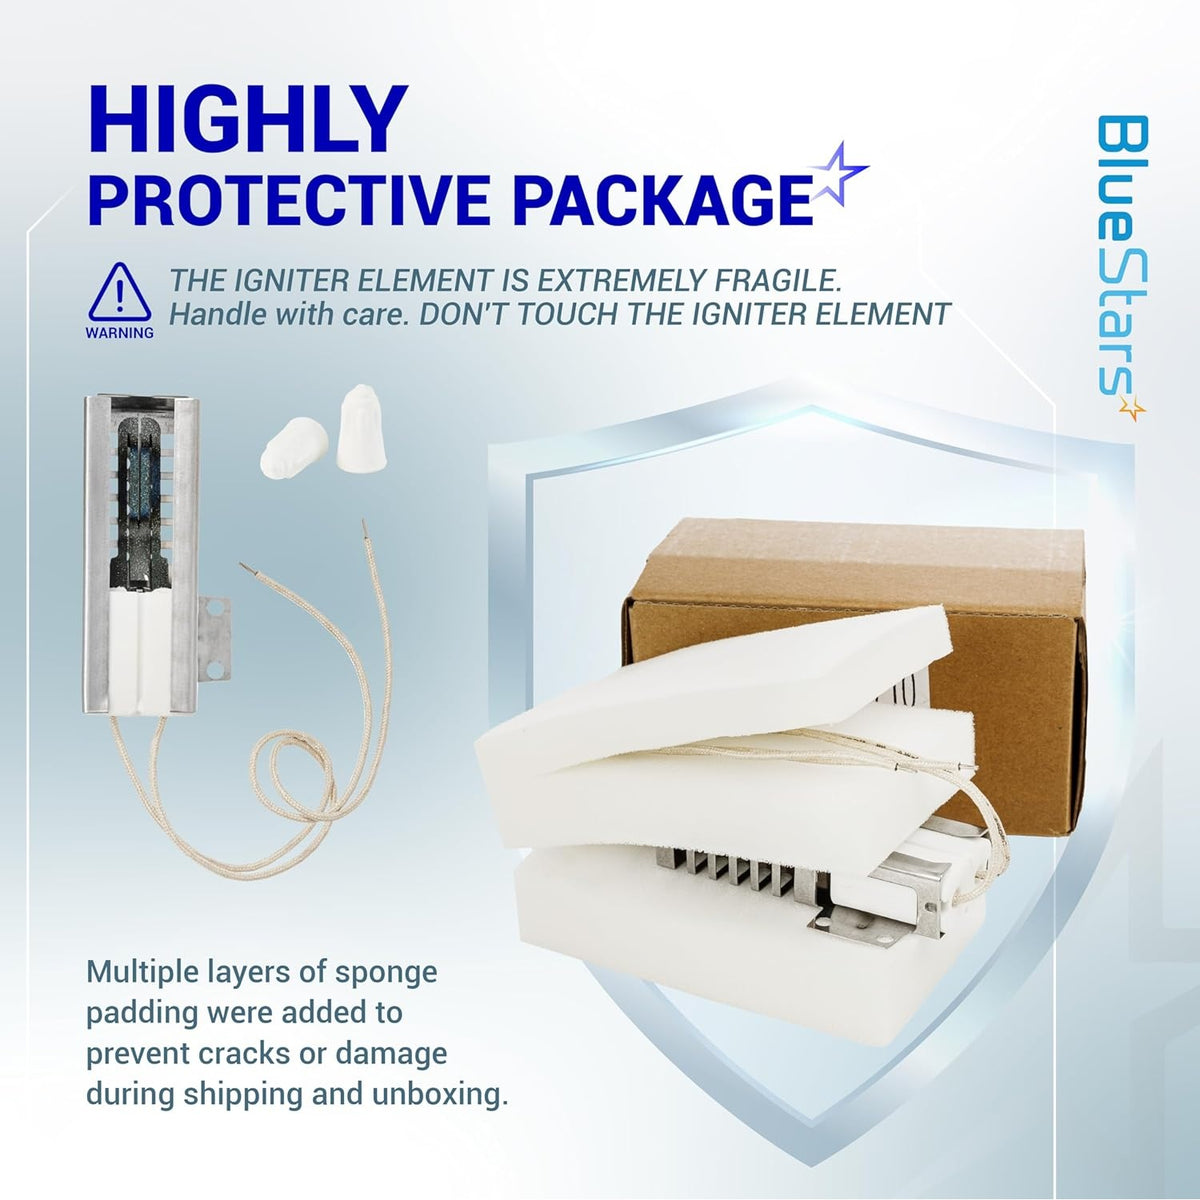
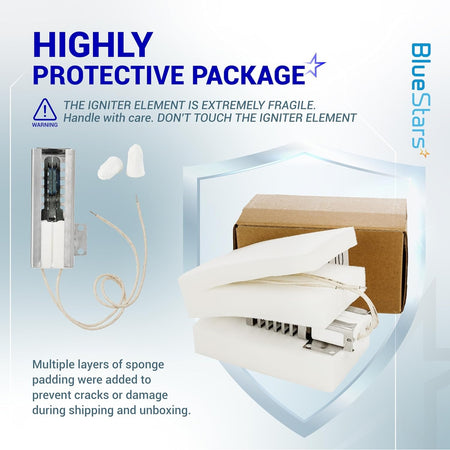
HIGHLY PROTECTIVE PACKAGE
Multiple layers of sponge padding were added to prevent cracks or damage during shipping and unboxing.

IMPORTANT NOTE
THE IGNITER ELEMENT IS EXTREMELY FRAGILE. Handle with care. DON'T TOUCH THE IGNITER ELEMENT.
Compatible Models
Locate the model number of your appliance or equipment on the manufacturer's label and use it to check compatibility before ordering
Loading compatible models…
FAQs
Suggestions
Common Model Number Locations
Need help finding your model number? Select your appliance or lawn equipment below for location diagrams

- Above the refrigerant valves on the back of the air conditioner
- On the side of the unit near the run capacitor or electrical lines that go into your home

- On either side of the exterior
- On the back of the unit where the power cord is located

- In the cool air exhaust port
- To the left of the fan opening, on the weather barrier
- Below the control panel
- On either side of the exterior
- Behind the front grill on the frame

- On the door frame
- On the inside of the tub wall
- Behind the control panel
- On the door
- Inside the edge of the unit

- On the back exterior
- On the door
- On the side of hose storage
- Inside the edge of the unit

- On inside of the door
- On the door frame
- On the back exterior of the unit
- On the exterior side of the unit

- Behind the control panel
- On the inside of the door
- On the door frame
- On the exterior side of the unit

- At the top of the unit
- On the inside of the dryer door
- On the door frame
- Under the washer lid
- On either side of the exterior

- On the back exterior of the unit
- On the door frame
- On the exterior side of the unit
- On interior wall
- On the control panel
- On side of door

- On the right-hand side of the vent, under the control panel
- On the interior wall of the microwave (microwave model number only)
- On the door frame
- On the rear panel

- On the exterior back of the unit

- Inside the top part of the vent duct (in down-draft models)
- Underneath a burner
- Underneath a knob
- Underneath the cooktop (lift-up style)
- Bottom of cooktop

- On an exterior wall
- On an inside wall
- On the door frame

- On the right-hand side of the vent, under the control panel
- On the interior wall of the microwave (microwave model number only)
- On the door frame
- On the rear panel

- Behind the control panel
- Under the front surface unit
- On the door frame
- Interior side panel
- On the exterior of the unit
- On the inside of the lower storage compartment wall

- On top the hood
- Behind the filter
- Under the hood

- On the inside of the door
- On the exterior back of the unit
- Inside on the rear wall
- On the exterior side of the unit

- On door jamb
- On rear of frame
- Behind front panel

- On ceiling of refrigerator
- On interior wall
- On the inside of the door
- Behind crisper drawer
- Behind kickplate

- On ceiling of refrigerator
- On interior wall
- On door frame
- Behind crisper drawer
- Behind kickplate

- On ceiling of freezer
- On interior wall
- On the inside of the door
- Behind kickplate

- On the exterior side of the unit
- On inside of the door
- On the door frame
- On the back exterior of the unit
- On the front exterior of the unit

- On the control panel
- Inside the lid
- Under the lid on the frame
- On the exterior of the unit

- At the top of the unit
- On the inside of the dryer door
- On the door frame
- Under the washer lid
- On either side of the exterior

- On the top center of heater
- On the exterior of the unit

- On the starter housing
- On the side of the housing, behind the top handle
- On the side of the motor housing
- Near the rear grip

- On the top or sides of the engine housing
- On the gas tank
- On the recoil housing

- On the handle bars
- On top of the engine cover
- Near discharge chute, often behind chute flaps
- On rear of the deck, behind the engine

- Dash panel
- Back of mower/rear bumper
- Underside of the seat
- Lower side of hood, near engine
- Frame (beneath the seat, footrest)
- Mower deck

- Underside of the seat
- Frame beneath or near the seat
- Back of mower/rear bumper
- Lower left side between gas tank and mower deck
- Under the foot plate

- On the rear of the blower
- Inside of vacuum canister
- Side of the motor housing
- On the rear base of the vacuum
- On the bottom of the belly of the vacuum

- On the frame near the engine
- On the side of the auger housing
- On the lower rear of the snow blower between wheels

- On the side of the motor housing
- On the shaft
Select an appliance to see where its model number is located.
