


Lifetime Warranty
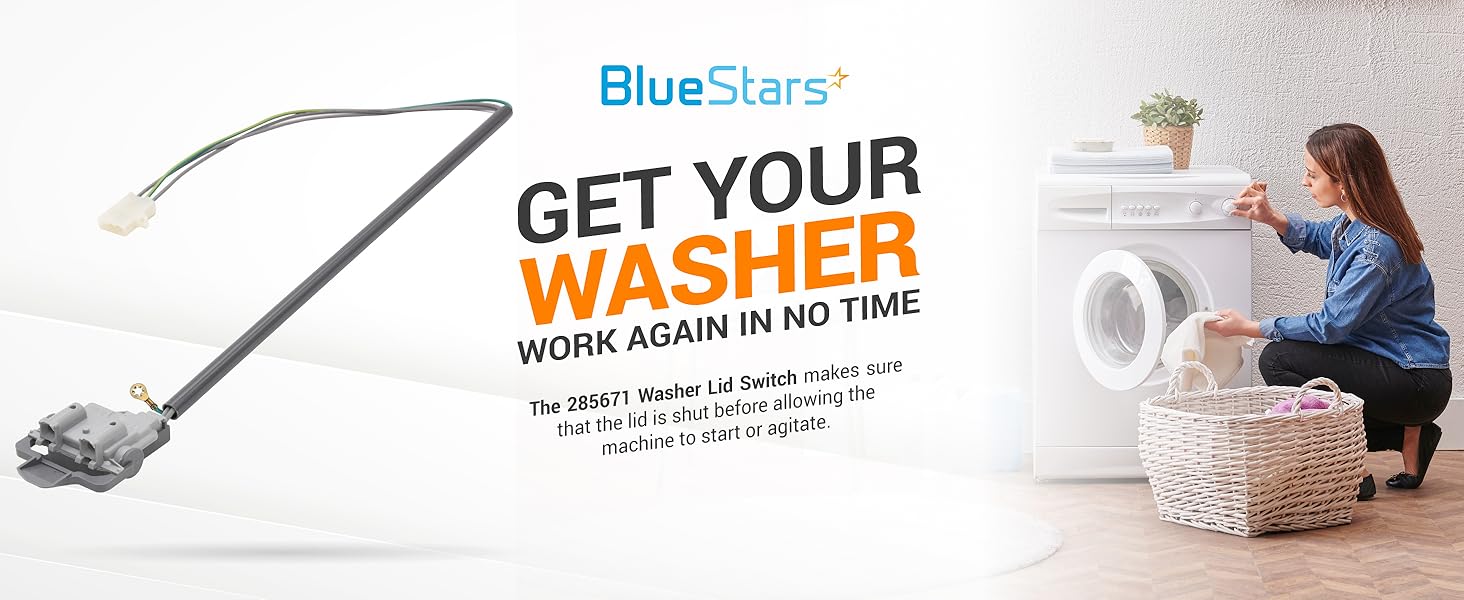
285671 Washer Lid Switch - For Whirlpool & Kenmore Washers
Save 13%
0.00
Regular price
$15.62
Regular price
$17.96
Sale price
$15.62
Fast delivery
CONFIRM THE FIT FOR YOUR MODEL
Enter your model number
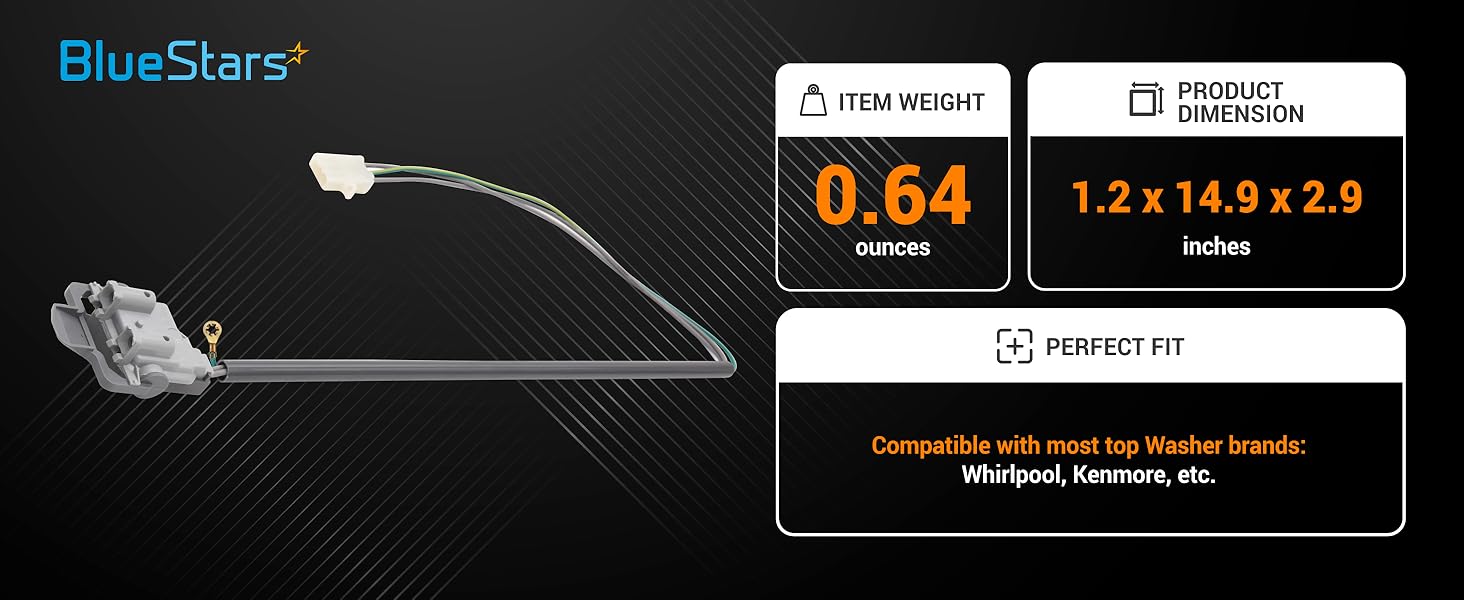
285671 Washer Lid Switch Assembly
Key Features
- Safety Interlock System: Prevents the washer from spinning while the lid is open, ensuring user safety during high-speed operations.
- Direct-Drive Design: Specifically engineered for Whirlpool-built direct-drive washing machines without a drive belt.
- Enhanced Contact Points: Features high-quality internal electrical contacts to ensure consistent signal transmission to the motor and timer.
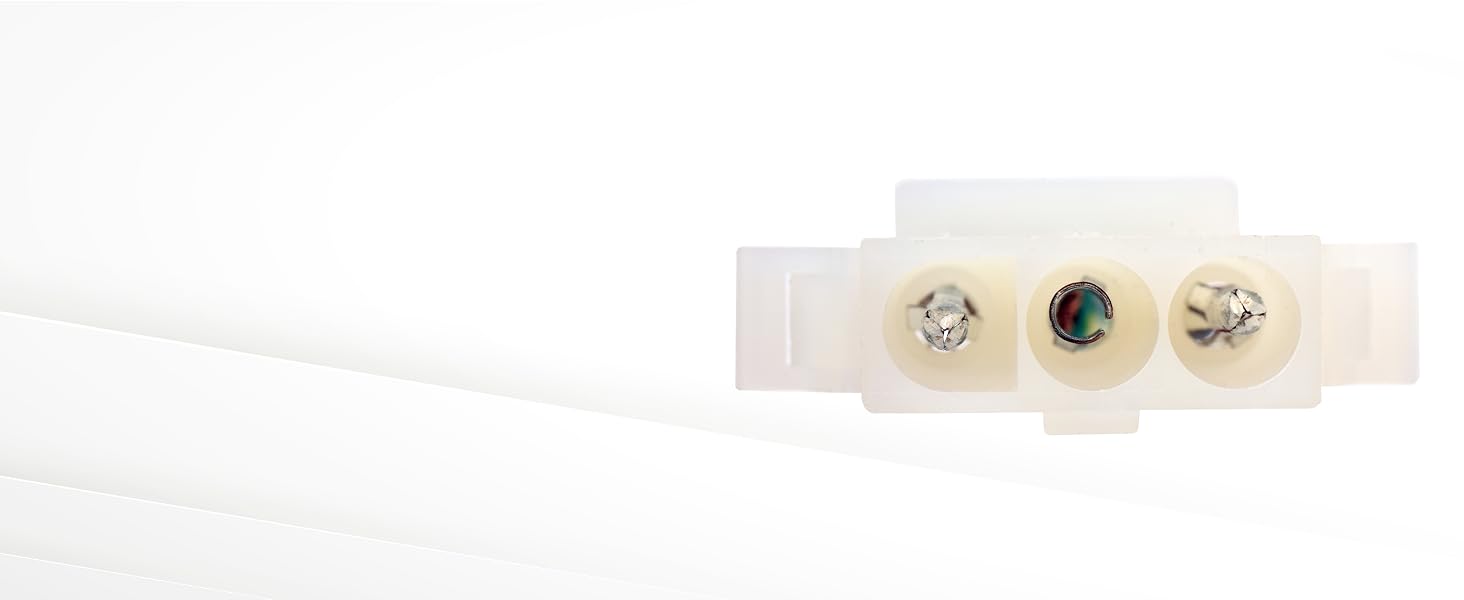
- Complete Assembly: Includes the switch mechanism, mounting bracket, and specialized wiring harness for a seamless fit.
Replaces / Cross-Reference Part Numbers
- AP3094500
- PS334600
- 285671VP
- 3352629
- 3352634
- 3355808
- 8134
- 2927
- EAP334600
- ES671
Compatibility & Fitment
This lid switch is compatible with thousands of top-load washer models manufactured by the Whirlpool Corporation across several brand names:
- Whirlpool: Fits a wide array of classic top-load models.
- Kenmore / Sears: Compatible with many 110-series direct-drive washers.
- Roper & Estate: Fits most standard top-load units using the 285671 part configuration.
- KitchenAid & Admiral: Compatible with select older top-load platforms.
- Amana: Fits specific models produced during the Whirlpool transition era.
When to Replace
- No Spin Cycle: The machine drains the water but will not enter the spin phase, even though the motor hums or the timer advances.
- Inoperative Machine: The washer refuses to start any cycle, as it cannot detect that the lid is closed.
- Broken Lever Arm: The plastic actuator that detects the lid pin is snapped, cracked, or missing.
- Burned Connector: Visible charring or melting on the three-prong plug or the switch housing.
- Testing Failure: A continuity test with a multimeter shows an open circuit when the switch button is fully depressed.
Installation Tips
- Safety First: Disconnect the power cord and turn off the water supply before beginning any disassembly.
- Cabinet Removal: For many models, you must remove the two screws at the base of the console, flip it up, and then release the brass clips to remove the entire outer cabinet.
- Grounding Connection: Ensure the green ground wire is securely screwed into the metal frame of the washer during installation.
- Harness Routing: Route the wires through the existing plastic clips to prevent them from rubbing against the tub during vibration.
- Final Check: Before reassembling the cabinet, ensure the lid pin aligns perfectly with the switch lever to prevent mechanical binding.
-

PERFECT FIT
BlueStars 285671 Washer Lid Switch replaces part numbers: 285671VP, 2927, 3352629, 3352630, 3352631, 3352632, 3352634, 3355808, etc. -

PREMIUM QUALITY
285671 Washer Lid Switch is made from high-quality plastic and well-tested by the manufacturer. Ensure long-lasting and effective performance. -

SAVING SOLUTION
Enjoy the great feeling when your washer is repaired and works properly like before - BlueStars brings DIY solutions to help you deal with any trouble -

SIMPLE INSTALLATION
The 285671 Washer Lid Switch is very simple that anyone with basic hand tools can do.

LONG-LASTING REPLACEMENT
This part is made of sturdy materials that prevent breaking during the installation and use process
IDEAL DESIGN
The switch features flat connections and the green grounding wire, which promotes high compatibility and easy installation

ECONOMICAL DIY REPAIR
Enjoy the comfort that our washer lid switch brings into your washer - BlueStars provides DIY solutions to help you deal with any troubles
| Brand | Model Number |
|---|---|
| Replaces | 285671VP, 2927, 3352629, 3352630, 3352631, 3352632, 3352634, 3355808, 8134, AH334600, AP3094500, EA334600, EAP334600, ES671, PD00002454, PS334600 |
| Kenmore | 11016101690, 11016202690, 11016502690, 11016502691, 11016502693, 11016602690, 11016602692, 11016872690, 11016872692, 11026051690, 11026058590, 11026058690, 11026071690, 11081862120, 11081862320, 11081862620, 11081862720, 11081862820, 11081863130, 11081863330, 11081863630, 11081863730, 11081863830, 11081864130, 11081864330, 11081864630, 11081864730, 11081864830, 11081878120, 11081878320, 11091521210 |
| Whirlpool | LLR6144BW0, LSR7233BW1 |