


Lifetime Warranty
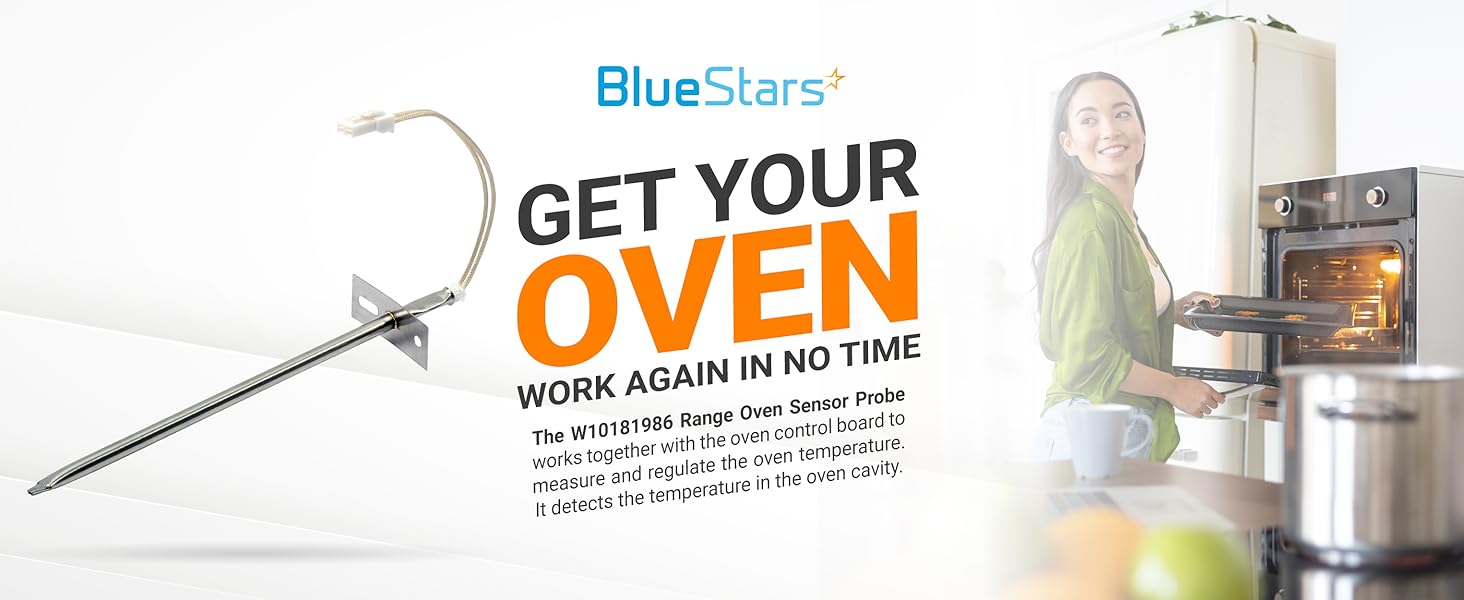
WPW10181986 Range Oven Sensor Probe for Whirlpool Maytag Kenmore Ranges
Save 13%
0.00
Regular price
$20.40
Regular price
$23.46
Sale price
$20.40
Fast delivery
CONFIRM THE FIT FOR YOUR MODEL
Enter your model number
WPW10181986 / W10181986 / W10131826 Range Oven Sensor Probe Replacement
Key Features
- Accurately monitors and regulates internal oven temperature for consistent heat distribution.
- Constructed with high-grade stainless steel for corrosion resistance and thermal stability.
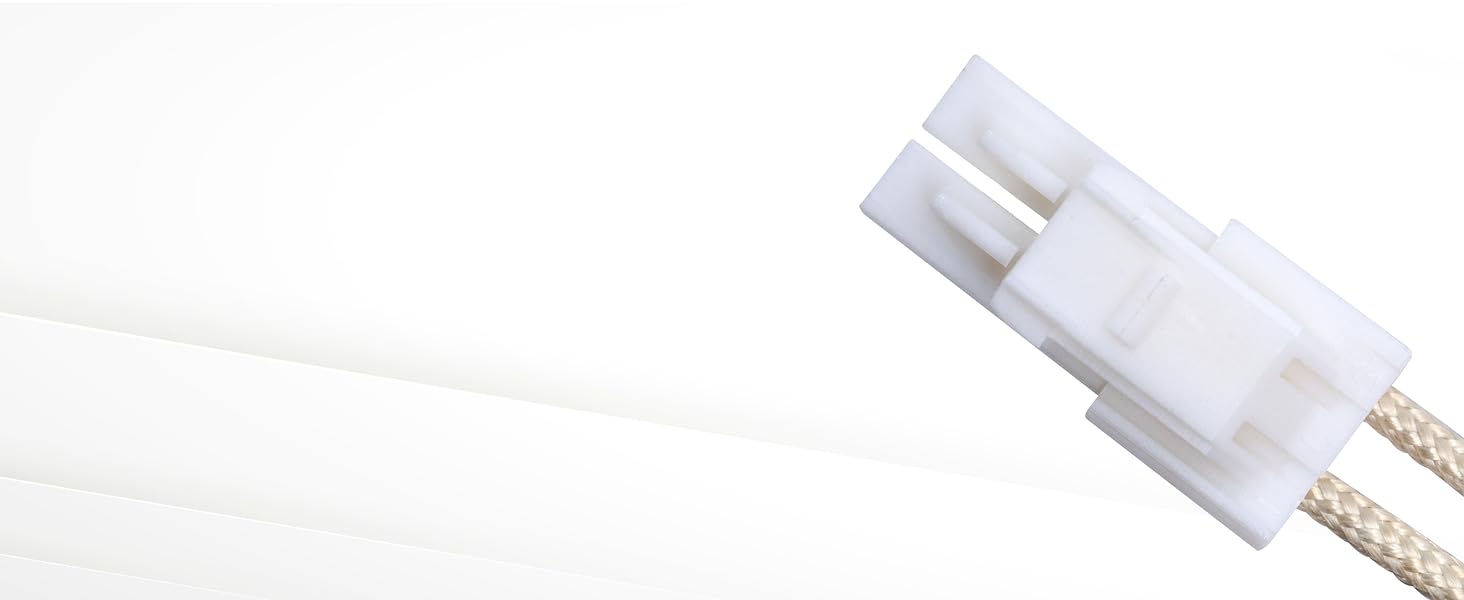
- Includes standardized plastic wire harness connector for secure electrical termination.
- Calibrated to provide precise resistance readings (approximately 1080-1100 ohms at room temperature) to the main control board.
Replaces / Cross-Reference Part Numbers
- AP6016450
- PS11749737
- W10181986
- W10131826
- 8273902
- 1394200
- WPW10181986VP
- EAP11749737
- PD00002916
- ER10181986
Compatibility & Fitment
- Compatible with Whirlpool, Maytag, Kenmore, KitchenAid, Amana, Estate, Jenn-Air, and Roper ranges and ovens.
- Fits various freestanding ranges, built-in wall ovens, and slide-in oven models.
- Engineered for use in both electric and gas-powered cooking appliances.
When to Replace
- Oven displays temperature-related error codes such as F3, F3-E1, F3-E2, or F4.
- Oven fails to reach the set temperature or significantly overshoots the target heat.
- Food is consistently undercooked or burnt despite correct settings.
- Resistance testing with a multimeter shows an open circuit or values outside the standard 1100-ohm range.
- The metal probe shows visible signs of warping, corrosion, or physical damage.
Installation Tips
- Disconnect the power supply to the range or oven before starting the repair.
- Access the sensor from either the interior back wall of the oven or by removing the rear access panel.
- Remove the mounting screws (typically 1/4 inch hex head) securing the probe to the oven cavity.
- Carefully pull the wire harness through the hole; if the connector is not accessible, you may need to remove the back panel.
- Unplug the old connector and snap the new sensor harness into place.
- Re-insert the probe and tighten the mounting screws until the unit is flush against the wall.
-

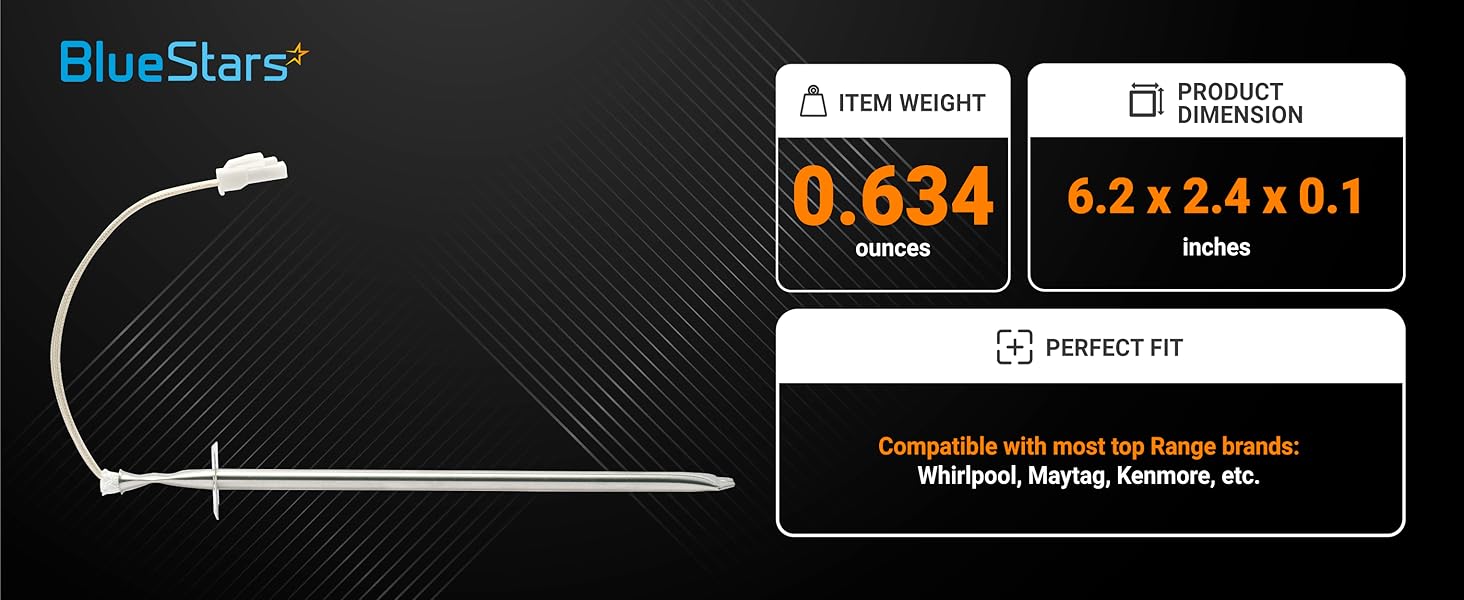
PERFECT FIT
BlueStars W10181986 Range Oven Sensor Probe replaces part numbers: 8273902, AP6016450, W10131826, WPW10181986, WPW10181986VP, PS11749737. -

PREMIUM QUALITY
W10181986 Range Oven Sensor Probe is made from high-quality material that ensure long-lasting and effective operation. -

SAVING SOLUTION
Enjoy the great feeling when your oven works properly like before - BlueStars brings DIY solutions to help you deal with any trouble. -

SIMPLE INSTALLATION
The W10181986 Range Oven Sensor Probe is very easy to install and anyone with basic hand tools can install it.

EASY INSTALLATION
Only need a #2 square head screwdriver or a #2 Philips screwdriver to install. Remember to unplug the range before installing the part
PREMIUM QUALITY
This oven sensor is manufactured from high-grade plastic & metal that ensure high durability and promote efficiency

ECONOMICAL DIY REPAIR
Enjoy the comfort that our sensor probe brings into your oven - BlueStars provides DIY solutions to help you deal with any troubles
| Brand | Model Number |
|---|---|
| Replaces | 1394200, 8273902, AP6016450, EAP11749737, PD00003022, PS11749737, W10181986, WPW10181986, WPW10181986VP |
| Amana | ACR3130BAW0, ACR4303MEB0, ACR4303MES0, ACR4303MEW0, ACR4503SEB0, ACR4503SES0, ACR4503SEW0, ACR4530BAB0, ACR4530BAW0, AER3311WAQ0, AER3311WAW0, AER3311WAW1, AER5330BAB0, AER5330BAS0, AER5330BAW0, AER5522VAS0, AER5522VAW0, AER5522VCS0, AER5522VCS1, AER5522VCW0, AER5522VCW1, AER5523XAB0, AER5523XAB1, AER5523XAQ0, AER5523XAW0, AER5523XAW1, AER5524XAD0, AER5524XAD1, AER5630BAB0, AER5630BAW0, AER5821VAS0, AER5821VAW0, AER5822VAB0, AER5822VAD0, AER5822VAS0, AER5822VAW0, AER5822VCB0, AER5822VCS0, AER5822VCW0, AER5823XAS0, AER5823XAS1 |
| Kenmore | 66475272502, 66475273502, 66475274502, 66475279502, 66495272502, 66495273502, 66495274502, 66495279502, 66572002100, 66572002101, 66572002102, 66572002103, 66572002104, 66572004100, 66572004101, 66572004103, 66572004104, 66572012100, 66572012101, 66572012102, 66572012103, 66572012104, 66572014100, 66572014101, 66572014103, 66572014104, 66572022100, 66572022101, 66572022102, 66572023100, 66572023102, 66572024100, 66572024102, 66572029100, 66572029102, 66572132300, 66572132301, 66572133300, 66572133301, 66572134300, 66572134301 |
| KitchenAid | KERA205PBL0, KERA205PBL1, KERA205PBL2, KERA205PBL3, KERA205PBL4, KERA205PBL5, KERA205PBT0, KERA205PBT1, KERA205PBT2, KERA205PBT3, KERA205PBT4, KERA205PBT5, KERA205PSS0, KERA205PSS1, KERA205PSS2, KERA205PSS3 |
| Maytag | 4KMER7600AW1, 4KMER7685ES0, 4KMER7685ES1, 4KMER7685EW0, 4KMER7685EW1, MER5605WB0, MER6600FB0, MER6600FB1, MER7775WS1, MER8670AB0, MER8670AS0, MER8670AW0, MER8674AS0, MER8674AW0, MER8675AS0, MER8675AW0, MER8674AS0, MER8880AS0, MGR7661WB0, MGR7661WB1, MGR7661WB2, MGR7661WB3, MGR7661WB4, MGR7661WS2, MGR7662WQ0, MGR7662WQ1, MGR7662WQ2, MGR7662WQ3, MGR7662WQ4, MGR7775WS1, MGR8670AB0, MGR8674AS0, MGR8674AS1, MGR8700DS0, MGR8775AS0, MGR8775AS1, MGR8775AW0, MGR8775AW1, MGR8880AB0, MGR8880AB1, MGR8880AS0, MGR8880AS1, MGR8880AW0, MGR8880AW1 |
| Whirlpool | GS470LEMT0, GS470LEMT1, GS470LEMT2, GS470LEMT3, RF262LXSB0, RF262LXSQ0, RF262LXST0, RF262LXSW0, RF264LXSB0, RF264LXSQ0, RF264LXST0, RF361PXKB2, RF361PXKQ0, RF361PXKQ1, RF361PXKQ2, RF362BXKQ0, RF362BXKQ1, RF362BXKT0, RF362BXKT1, RF362BXKV0, RF362BXKV1, RF362BXKW0, RF362BXKW1, RF362BXMV0, RF362BXMW0, RF362LXSB0, RF362LXSB1, RF362LXSQ0, RF362LXSQ1, RF362LXSS1, RF362LXTB0, RF362LXTQ1, RF362LXTQ2, RF362LXTQ3, RF362LXTS0, RF362LXTS2, RF362LXTS3, RF362LXTT0, RF362LXTT1, RF362LXTT2, RF362LXTT3, RF362LXTY0, RF364LXKQ0, RF364LXKQ1, RF364LXKT0, RF364LXMB0, RF364LXMQ0, RF364LXMT0, RF364PXKQ1, RF364PXKV0, RF364PXKV1, RF364PXKW0, RF364PXKW1, RF364PXMQ0, RF364PXMV0, RF364PXMW0, RF364PXPB1, RF364PXPB2, RF364PXPB3, RF364PXPT0, RF364PXPT1, RF364PXPT2, RF364PXPT3, RF364PXPW0, RF364PXPW1, RF364PXPW2, RF364PXPW3, RF366LXKQ0, RF366LXKT0, RF367LXMB0, RF367LXMQ0, RF367LXMT0, RF367LXMV0, RF367LXSQ0, RF367LXSQ1, RF367LXSQ2, RF367LXSQ3, RF367LXSQ4, RF367LXSS0, RF367LXSS1, RF367LXSS2, RF368LXPS2, SF368LEPQ0, SF368LEPQ1, SF368LEPQ2, SF368LEPQ3, WFE710H0AS1, WFG374LVB2, WFG540H0AH0 |
Material
Metal
Resistance at Room Temp
1000 Ohms (nominal) / 1080–1090 Ohms (tested)
Probe Dimensions
7 x 1-3/4 x 3/4 inches
Harness Length
6 inches
Includes
1× Sensor Probe + 2-Wire Harness Assembly