


Lifetime Warranty
[Lifetime Warranty] 10 uF MFD ±5% 370/440 VAC CBB65 Oval Run Start Capacitor - Fits AC Motor Run, Fan Start, Heat Pump
Save 13%
0.00
Regular price
$18.83
Regular price
$21.65
Sale price
$18.83
Fast delivery
CONFIRM THE FIT FOR YOUR MODEL
Enter your model number
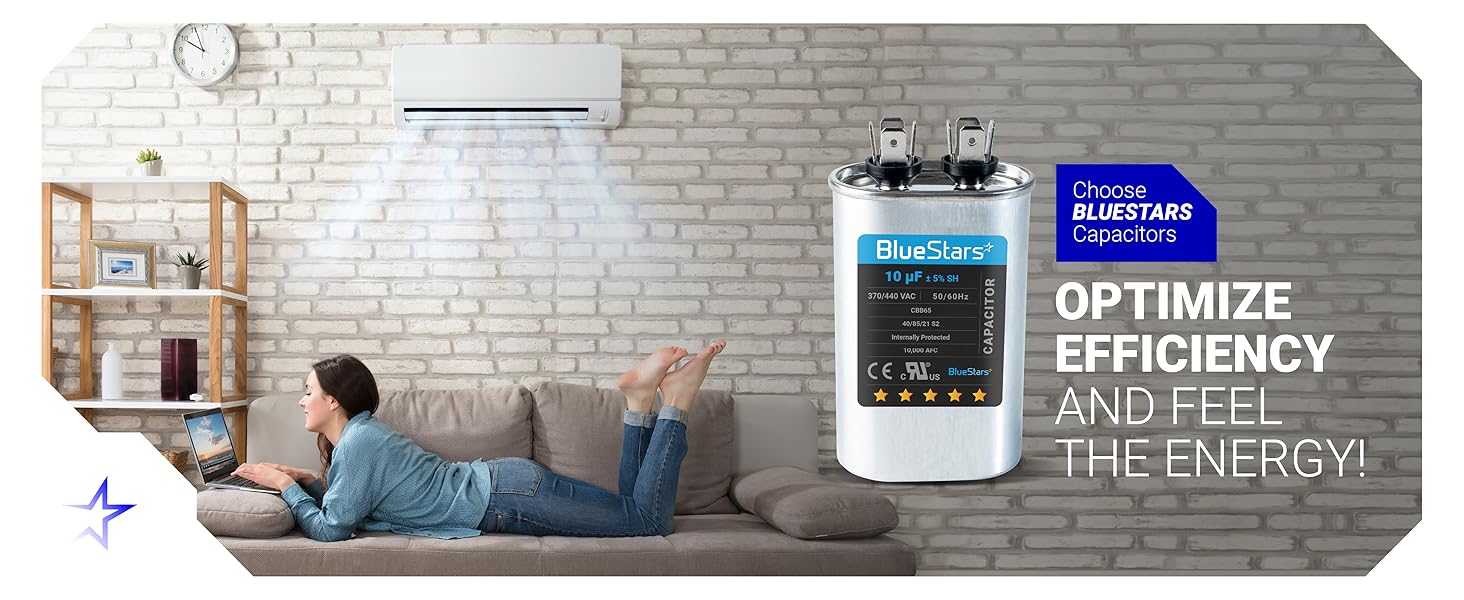
10 uF MFD ±5% 370/440V CBB65 Oval Run Start Capacitor
Key Features
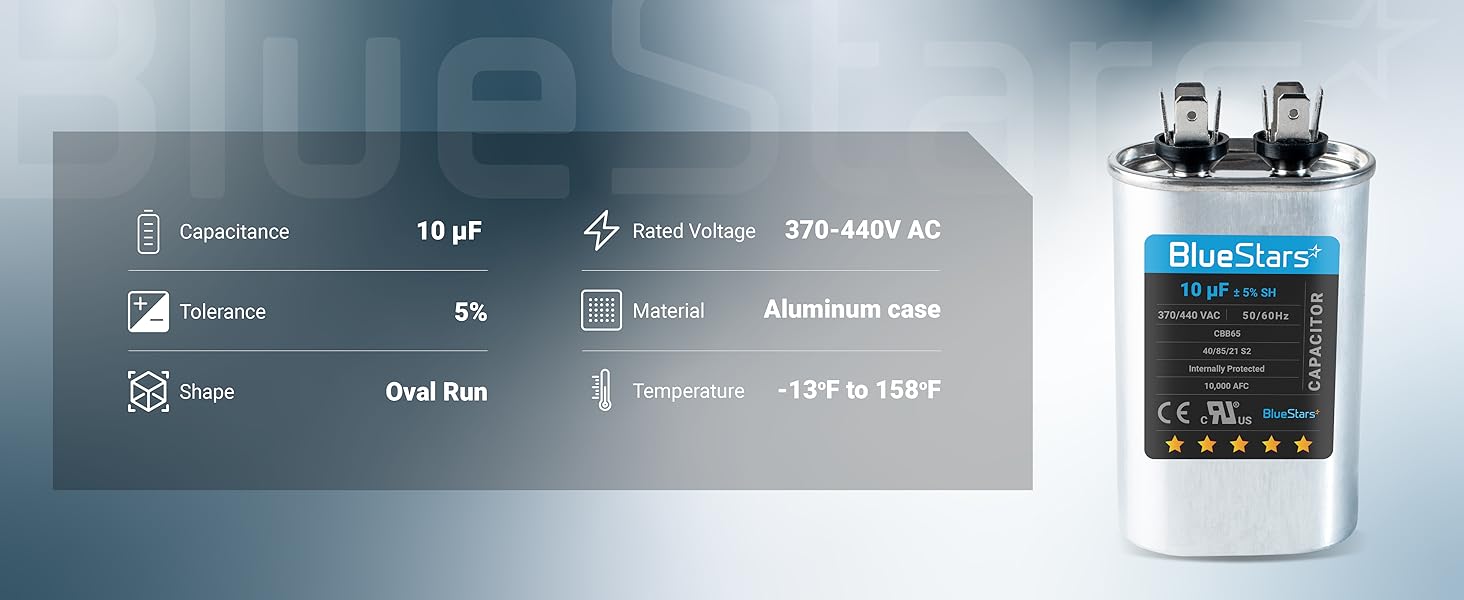
- Capacitance: 10 Microfarad (uF)
- Tolerance: ±5%
- Voltage Rating: 370/440 VAC
- Frequency: 50/60 Hz
- Model: CBB65
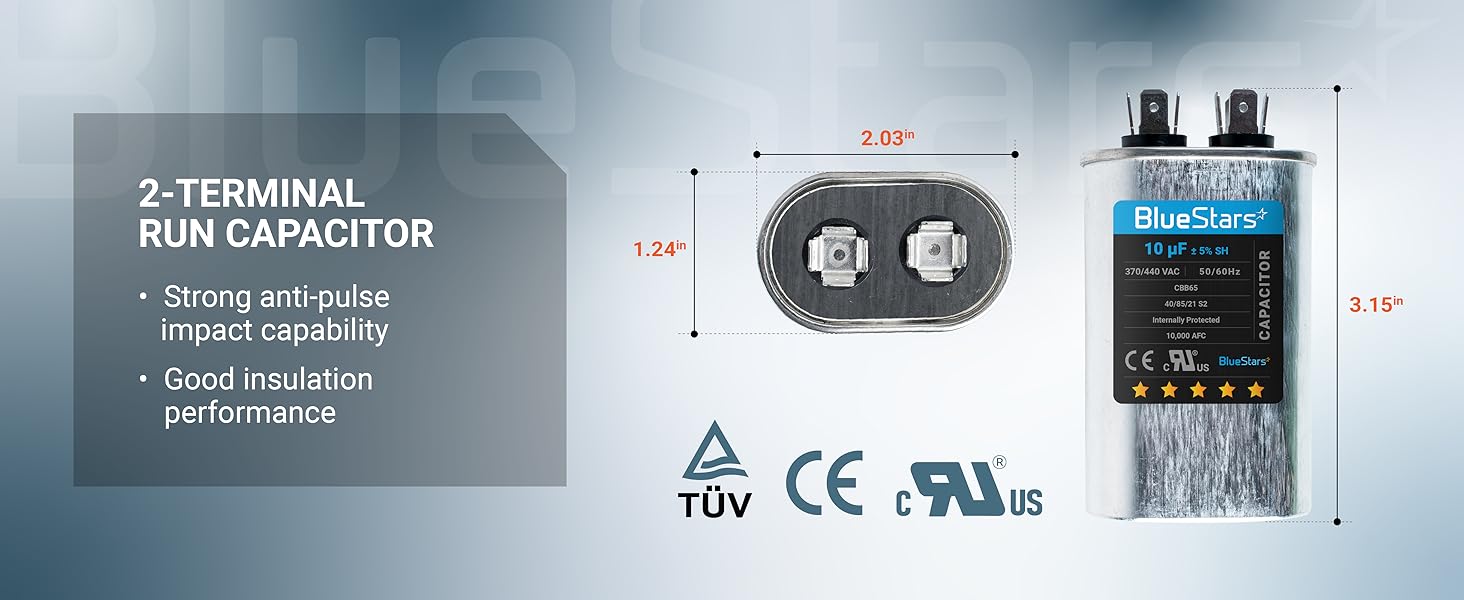
- Shape: Oval
- Construction: Aluminum case, oil-filled polypropylene film
- Terminals: Standard 1/4 inch male spade terminals
- Safety Rating: 10,000 AFC fault current protection
Replaces / Cross-Reference Part Numbers
- Replaces any oval-shaped capacitor with matching specifications.
- Ensure the replacement has a 10 uF capacitance and a voltage rating of 370V or 440V.
Compatibility & Fitment
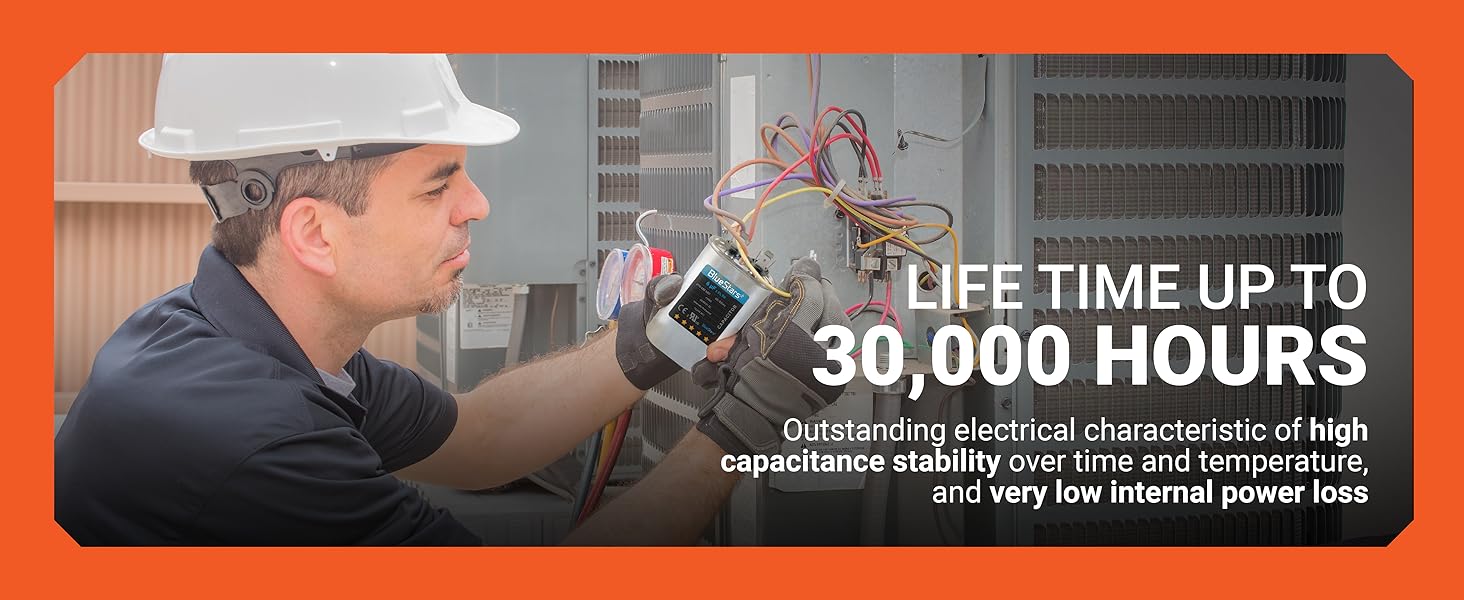
- Designed for continuous duty in motor run applications.
- Used in air conditioners, heat pumps, condenser fan motors, compressors, and furnace blower motors.
- Universal fit for applications requiring a 10 MFD oval run capacitor.
When to Replace
- Motor hums but does not start.
- Fan or blower operates at a reduced speed.
- Compressor fails to engage.
- Visible bulging, swelling, or fluid leakage from the capacitor casing.
Installation Tips
- Disconnect all electrical power to the unit before beginning work.
- Safely discharge the existing capacitor by shorting the terminals with an insulated tool.
- Note the wiring configuration before disconnecting the old part.
- Connect the wires to the corresponding terminals on the new capacitor.
- Secure the capacitor in place using the original mounting bracket.
-

Step 1
Turn off the power and locate the capacitor -

Step 2
Discharge any stored electricity by shorting the terminals -

Step 3
Take a photo or note how the wires connect. Disconnect wires & install the new capacitor. -

Step 4
Reassemble and test